Are you a developer looking to create and maintain an online store using Shopify CLI locally? And, struggling with the following steps:
- How to get your theme code locally and sync up with GitHub?
- How to have separate staging and development environments so that you don’t mess up with actual clients' live stores?
- How to sync your local editor changes and update it both in GitHub and on the live store. (To complicate the issue further 😋, without over-riding any changes which the store owner or maintainer has made in parallel via theme editor)
- How to use SASS with Shopify theme development?
- How to work on separate features in parallel?
- How to have multiple developers work on different features simultaneously, without overriding each other changes.
I can go on with other benefits like having theme code backup, a separate theme for black Friday (prepared in advance), a/b testing, etc. etc…but to cut short the topic, let’s continue….
And, learn this ultimate Shopify development workflow. Here we go…
The Basics of Shopify
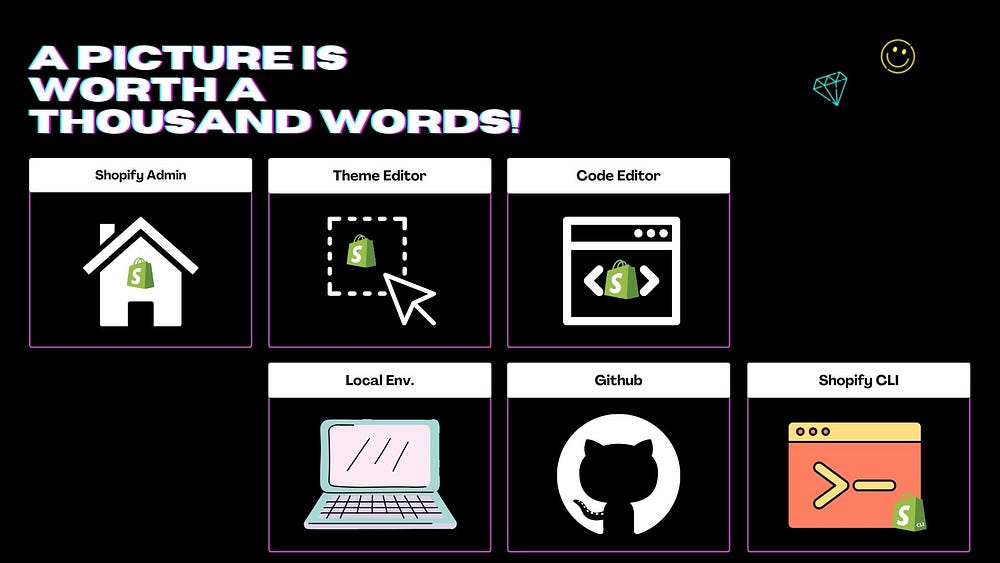
I have read somewhere that a picture is worth a thousand words, so let me try to explain all the basics of Shopify via 1 picture. Here it is…
Create Development Store
Most of you might be already aware of this step but for my new friends who just started with Shopify development…
You can join Shopify’s partner program here and can create an unlimited number of development stores. Also, it’s FREE!
[Image] (Screenshot from video for creating new dev store)
For more details: check Shopify’s official blog.
Pre-requisites
The requirements to install and run Shopify CLI depend on your operating system but generally, you need to have Node.js (14.17.0 or higher) and Git installed on your local machine.
For specific requirements for each operating system: check Shopify’s official blog.
Setup Shopify CLI
- Install Shopify CLI locally. Check here for the installation guide. I used macOS, the Homebrew method for installing Shopify CLI on my mac.
Mac:
brew tap shopify/shopify
brew install shopify-cli


Windows & Linux :
npm install -g @shopify/cli @shopify/theme
shopify version -> to verify the installation
Commands to run (in your command line locally)
Following are the set of commands in order to get your theme code and set up git locally.
- To login into the store you want to work with:
shopify login --store=[your-store.myshopify.com]
2. Create a directory for your code on your local machine
mkdir dir_name
3. Go to the new directory
cd dir_name
4. To pull all the code from your store to your local machine. From the dropdown select the theme you want to pull code from.
shopify theme pull
5. To turn up a local dev environment (to work locally)
shopify theme serve
It will turn up your local store at port 3000 and will create a dev link for theme editor changes.
[Image] (screenshot of dev env. of command prompt from video)
6. Setup git repository locally
git init
7. Add all files
git add .
8. Make a commit
git commit -m "Initial commit"
9. Create a new private repository on Github.
10. Connect local repo to new private remote repo
git remote add origin [<https://github.com/><your-repo>.git]
Your repo link: (<https://github.com/Bigside-Tech/bigside-shopify.git>)
11. Push your local code to GitHub.
git push origin master
12. In Shopify Admin → Add Theme → Connect from Github → Your newly created theme.
13. To get local customizer changes (to work locally).
shopify theme pull
Flow for working on multiple features (Dev & Staging environment)
It does not matter if you are a solopreneur working on multiple features or running a multi-person agency. Keep following 1 line mantra in mind…
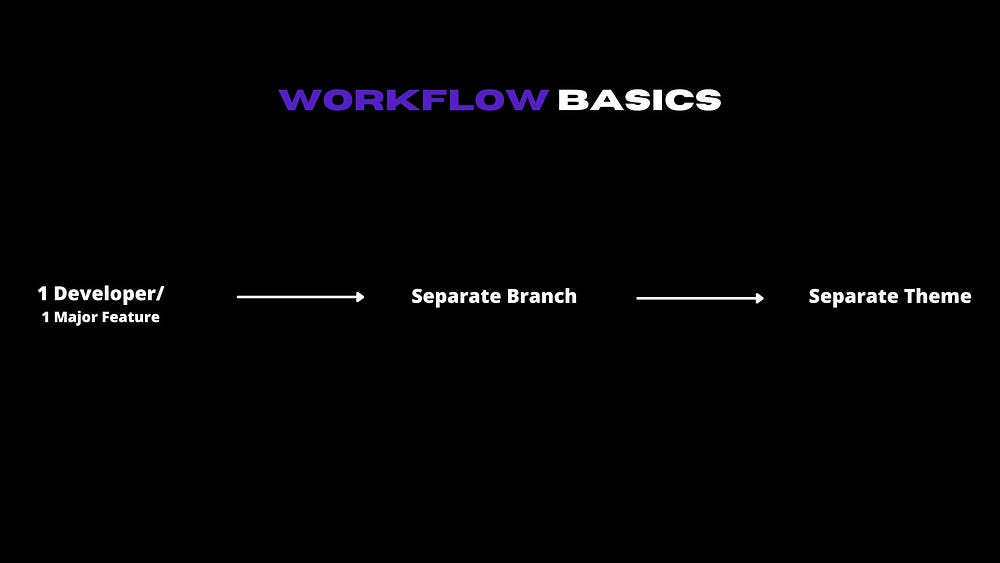
For each developer or feature, have a separate branch.
How will you achieve it?
First, you create a branch in your local machine, push it to GitHub and then add a new theme in Shopify connected to your new branch.
Example:
- Create a branch(staging) from the master. And push this new branch to GitHub.
- Add a theme with this branch in Shopify. via “Theme Library” > “Add Theme” > “Connect from Github” > Connect this new branch.
- Work on this staging environment on your local machine. Sync your local customizer changes/code with your branch (as shown above).
- At the time of deployment to production:
- Go to master
- Take pull
- Go to your branch (staging). Merge master in case of any changes.
- Test on local setup (via Shopify theme serve).
- Switch to master. Merge your branch to master.
- (optional step) Run a local dev again and test again. (For safety purpose).
- Otherwise push code to master.
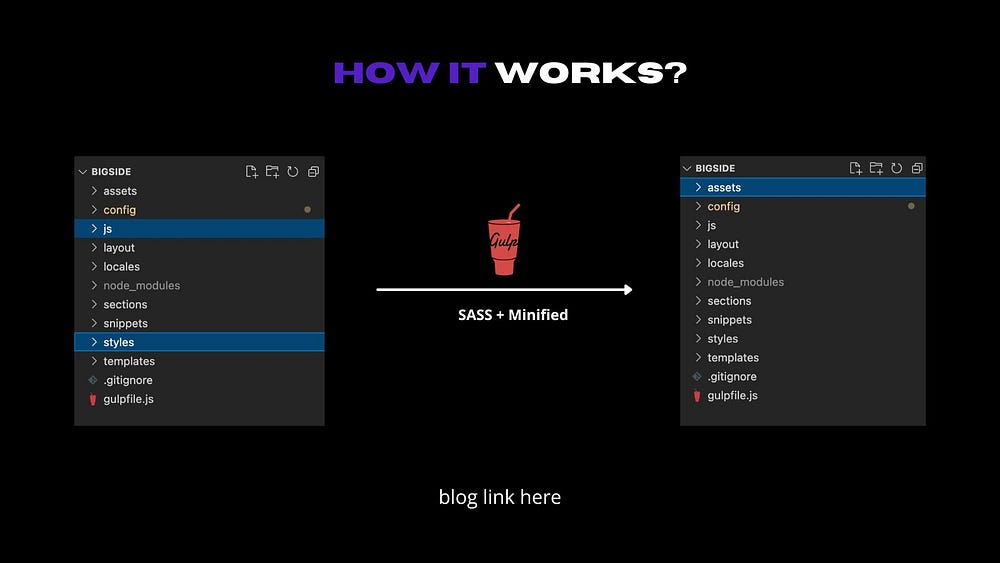
Gulp + SASS (including autoprefixer + minify) + JS Minify Setup
This part is for intermediate to advanced Shopify developers, who want to:
- Use SASS for defining their styles and wants a setup to convert it to CSS automatically.
- Wants to have code modularity by separating their CSS and js files.
- Wants to optimize their code by minifying their CSS and js files.
- Wants to use gulp with Shopify theme development.
Workflow for local development
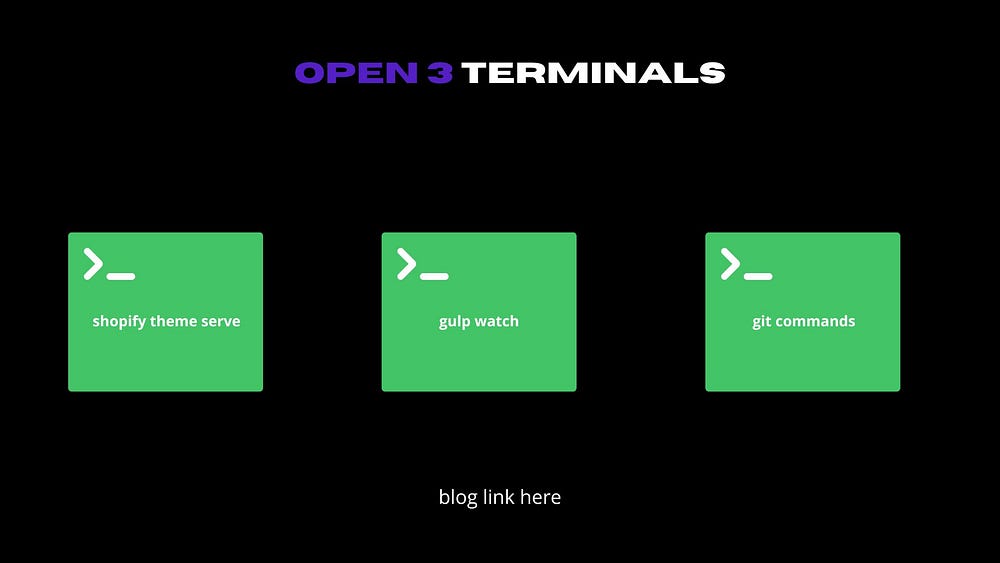
So, here is how it will look at the end after your gulp setup…
- TIP: Have 3 tabs open. 1 for Shopify theme serve, 2nd for gulp watch, and 3rd for git commands.
- Create a new styles folder (top-level) and put all your SCSS files there (following the naming convention of your theme, if applicable).
- Create a new js folder (top-level) and put all your js files there (following the naming convention of your theme, if applicable).
- Run the gulp watch command.
Finally, let’s move to the gulp setup…
Pre-requisites
- Need to have node, npm, gulp CLI (commands for installation covered below) and Shopify CLI installed.
To verify the above installations:

node -v -> to check if node installed
gulp -v -> to check if gulp installed
shopify version -> to check for shopify CLI
Commands
Following are the commands to setup gulp locally.
- Configure package.json file
npm init
- Install Gulp CLI (if not already installed)
npm install --global gulp-cli
gulp -v -> check if gulp CLI installed
- Install gulp
npm install gulp --save-dev
- Install sass dependencies
npm install node-sass gulp-sass sass --save-dev
- Install CSS minification dependency
npm install gulp-clean-css --save-dev
- Install CSS auto-prefixer dependency
npm install gulp-autoprefixer --save-dev
- Install JS minification dependency
npm install gulp-uglify --save-dev
- Create a new file: gulpfile.js
/* list dependencies */
const gulp = require('gulp');
const sass = require('gulp-sass')(require('sass'));
const clean = require('gulp-clean-css');
const prefix = require('gulp-autoprefixer');
const uglify = require('gulp-uglify'); // minify js
/* define gulp tasks */
// scss
gulp.task('sass', function(){
    return gulp.src('styles/**/*.scss')
           .pipe(sass())
           .pipe(prefix('last 2 versions'))
           .pipe(clean({compatibility: 'ie11'}))
           .pipe(gulp.dest('assets'));
});

// js
gulp.task('jsmin', function(){
    return gulp.src('js/**/*.js')
             .pipe(uglify())
             .pipe(gulp.dest('assets'));
});

/* watch tasks */
gulp.task('watch', function(){
   gulp.watch('styles/**/*.scss', gulp.series('sass'));
   gulp.watch('js/**/*.js', gulp.series('jsmin'));
});
- Add the node modules folder in your .gitignore file. Add the below in the last line.
node_modules
- Include the CSS file in the corresponding required file at the top of the section.
{{ 'section-test.css' | asset_url | stylesheet_tag }}
- Include the JS file in the corresponding required file at the top of the section.
<script src="{{ 'section-test.js' | asset_url }}" defer="defer"></script>
- Run gulp watch command
gulp watch
Congratulation! you have reached the end & mastered this ultimate Shopify development workflow for online store 2.0 😀
I hope this blog was helpful and will be useful to my Shopify developer friends who were struggling to set up a local development workflow (as I was struggling a few months back 😋).
Also, please don’t forget to drop your comments below, if you like this post or have some suggestions/ideas to improve this flow :)
Resources
- How to use GitHub with Shopify (Online Store 2.0) — video
- Shopify CLI for Theme Development (How to use) — video
- Shopify CLI Theme Commands — Shopify’s official doc
- How to use SCSS with Shopify CLI for Themes
- How to use SCSS with Shopify Themekit (2021)
- Shopify’s Dawn Theme — A Closer Look (Online Store 2.0)
- Full beginner Gulp setup for SCSS, minifying Javascript, and minifying/webp images
- Font converter for ttf to woff